Lucy Beta V2 User Guide: A New Way to Experience Autonomy Online

Welcome to the Lucy Beta V2
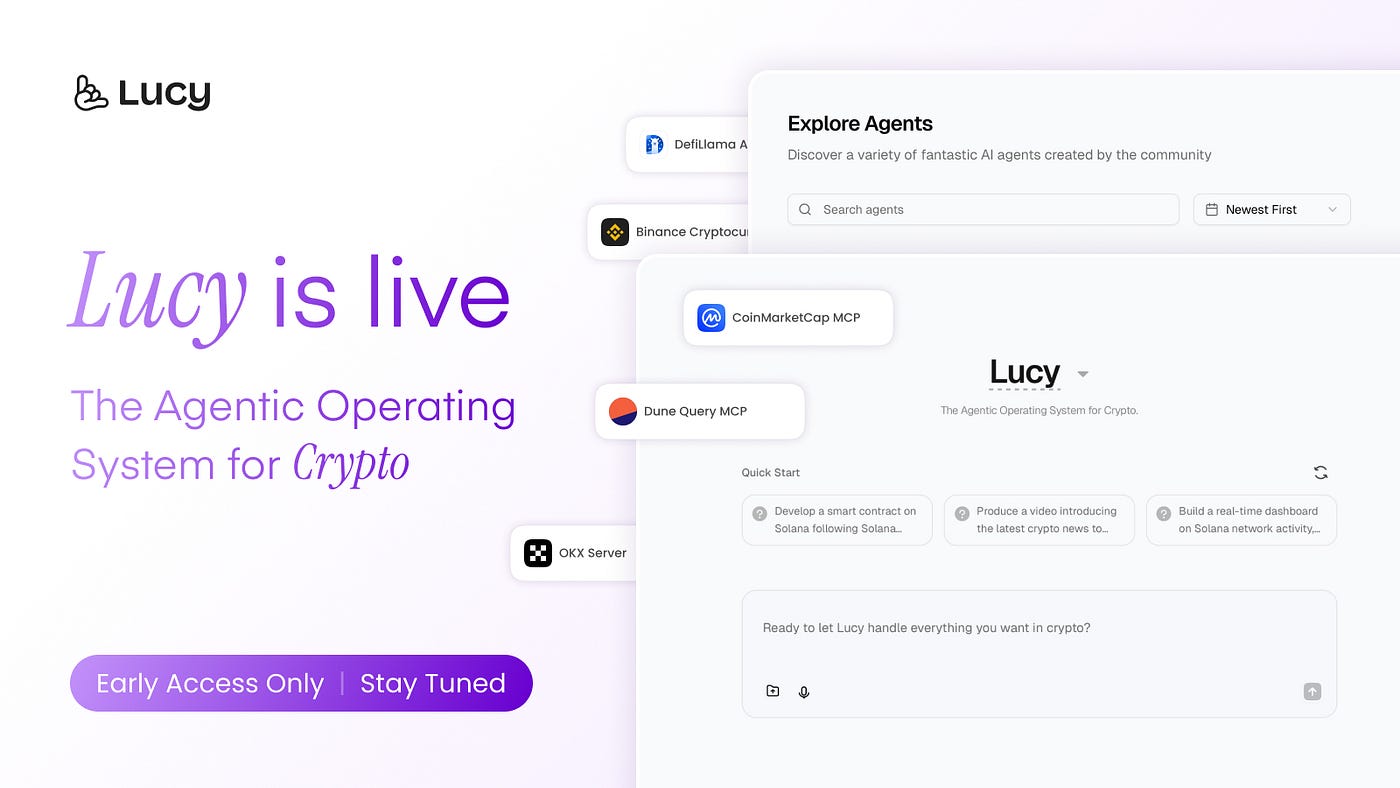
Lucy Beta V2 is your agentic operating system for crypto, providing you with powerful artificial intelligence assistant services. This document will detail the website’s features, button operations, and usage procedures.
0. Welcome
Core Concept
Lucy Beta V2 is dedicated to providing users with an intelligent AI assistant platform to help accomplish a variety of complex tasks, from data analysis to content creation, from code development to business consulting.
Key Features
- Intelligent Task Handling: Supports multiple types of task requests
- Predefined Assistant Templates: Offers AI assistants across various professional fields
- User-Friendly Interface: Clean and intuitive operational experience
- Personalized Service: Customized responses based on user needs
1. Getting Started
1.1. Obtaining an Invitation Code
- The invitation code system is only used during the beta testing phase
- When visiting the registration page, the system will require an invitation code
- Click the “Apply for an invitation code” button to request an invitation code
1.2. Account Creation
On the login page, click “Create new account”.
Enter a valid invitation code, then fill in your email address and password.
Congratulations! You have successfully completed your account registration.
Please enjoy the AI journey brought to you by Lucy Beta V2.
2. Exploring the Main Interface
2.1. Navigation Bar Functions
Chat
Function: Create a new conversation request. Click to enter the conversation creation interface.
Marketplace
Function: Quickly launch specific functional Agents, including templates for various industries and functions.
Agents Playground
Function: A professional Agent assistant toolkit
Purpose: Create and manage your Agents using custom commands and tools.
Management: Allows personalized settings and preference configurations.
Credentials
Function: Manage MCP Server and API keys
Security: Securely store third-party service authentication information
Chats
Function: View task history and status
Management: Track ongoing and completed tasks
Review: Access previous conversations and results
2.2. Main Work Area
Main Input Box
Supports natural language descriptions of various complex task requirements, intelligently understanding user intentions
Lucy Agent Selection
Default selection is Lucy Agent
Search for your customized Agents (this button will redirect you to the Agents Playground in the left navigation bar)
Function: Connect device microphone
Supports voice input, which is automatically filled into the main input box

Function: Upload file attachments to provide reference materials for tasks
Supported formats: Documents, images, data files, etc.
Send button (also activated by Enter key)
Function: Submit task request to initiate the AI processing workflow
3. Core Feature
3.1 Marketplace
Browse AI Agent templates to quickly launch Agents.
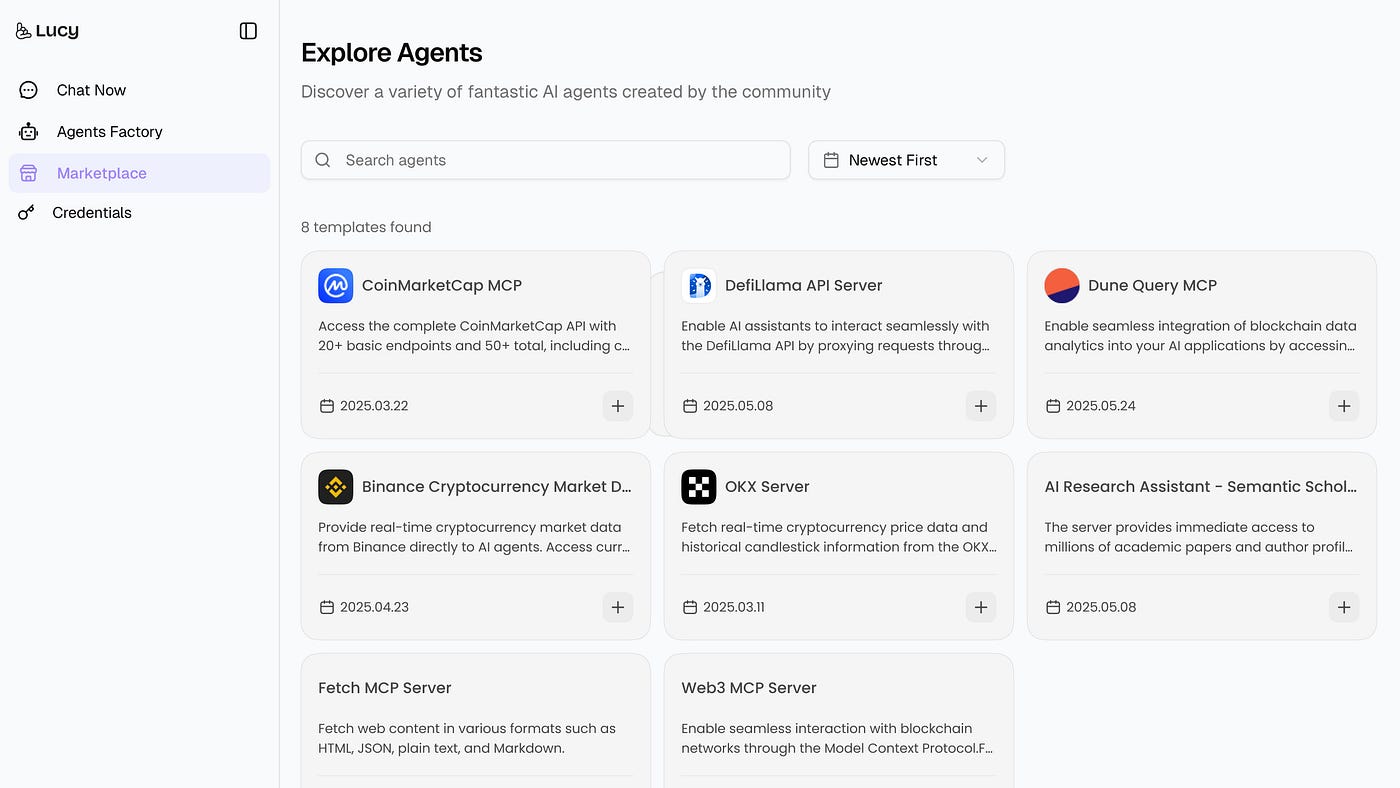
Click “+” to add templates to your own Agent library.
You can rename Agents here, and after installation, they can be viewed and managed in the Agents Factory.
3.2 Credential:
Function:
Add and manage MCP servers you want to use according to your needs.
Select an MCP server to create a credential profile, or add a custom server.
Once configured successfully, the Credentials page will display the MCP server you have added.
3.3 Agents Factory
Manage available agents and reconfigure your customized agents.
Use Agents from Agents Factory:
To use directly, select an Agent and click “Chat” to start using it immediately.
Customize Agents: Select an Agent and click “Customize” to enter the Agent editing page.

Configure a new Agent:
Click “New Agent” to enter the agent configuration interface. In this interface, users configure the Agent in the left dialog box and perform real-time testing of the Agent in the right dialog box.
Automatic Agent Configuration: Enter your requirements for the Agent in the Agent Builder configuration dialog.
Manual Agent Configuration: Click “Manual”.
Manual Configuration of System Tools:
Search for and configure MCP servers:
Click ‘Custom’ to configure a custom MCP
Click ‘Browser’ to explore interesting MCPs on Smithery
In the ‘Configured Servers’ section, view the MCP currently selected by the agent. After entering your applied API key, you can proceed to configure the tools within the MCP. Once configuration is complete, click “Save Configuration” to save your settings.